Initialise Phaser
Tasks
Set up the project skeleton
- Create a directory/folder for the game in your computer.
Download the initial project skeleton and unzip its contents in the directory you just created. Make sure that the resulting structure looks like this:
game ├── audio ├── data ├── images ├── index.html └── js- Launch a local web server (we have seen how to do that in the install guide) and check that you can get to the
index.htmlfile in the browser. For instance, if you have launched your web server in the port3000, you should be able to see the contents ofindex.htmlby accessinghttp://0.0.0.0:3000.
Initialise Phaser and the canvas
HTML5 games need a
<canvas>element to draw graphics. Phaser can create one automatically when we initialise the game. We need to supply the ID of the element that will wrap the canvas –in our case, it will be a<div id="game">that we have in ourindex.file. We will also be providing the canvas' dimensions (960✕600).To do that, open
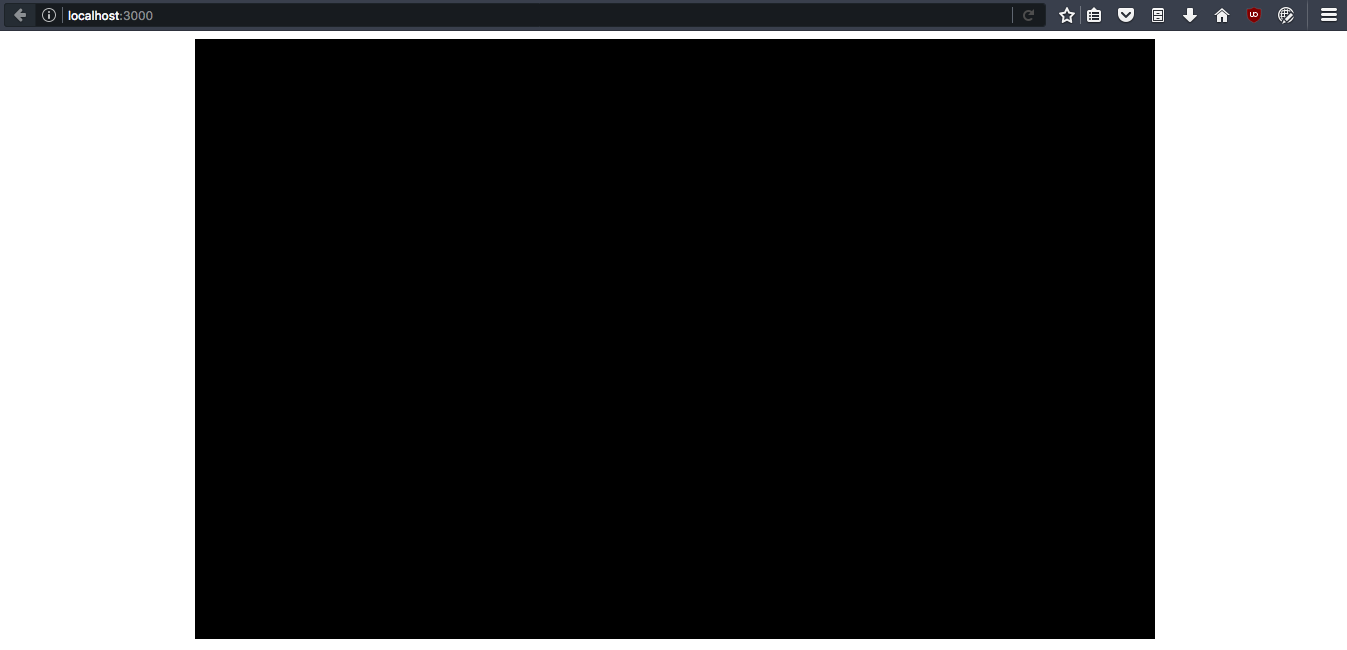
js/main.jsin your text editor and edit thewindow.onloadfunction to initialise Phaser:window.onload = function () { let game = new Phaser.Game(960, 600, Phaser.AUTO, 'game'); };You might be wondering what is this
Phaser.AUTOparameter we are passing. It's to specify whether we want a 2D canvas or a WebGL canvas. By setting it toAUTO, it will try to use a WebGL canvas –for most games it's most performant– and, when it isn't available, will fallback to use a regular 2D canvas.Refresh your browser so you can see the changes. You should be able to see a black canvas with the dimensions we specified in the initialisation.
Checklist
Before you go ahead, make sure:
- You can access the contents of
index.htmlin your browser (by launching a local server). - You see a black canvas element on the screen.
All done? Then let's continue! The glory of game development awaits us!
Download
Are you stuck? Take a look at the source code for this step.